The Dashboard
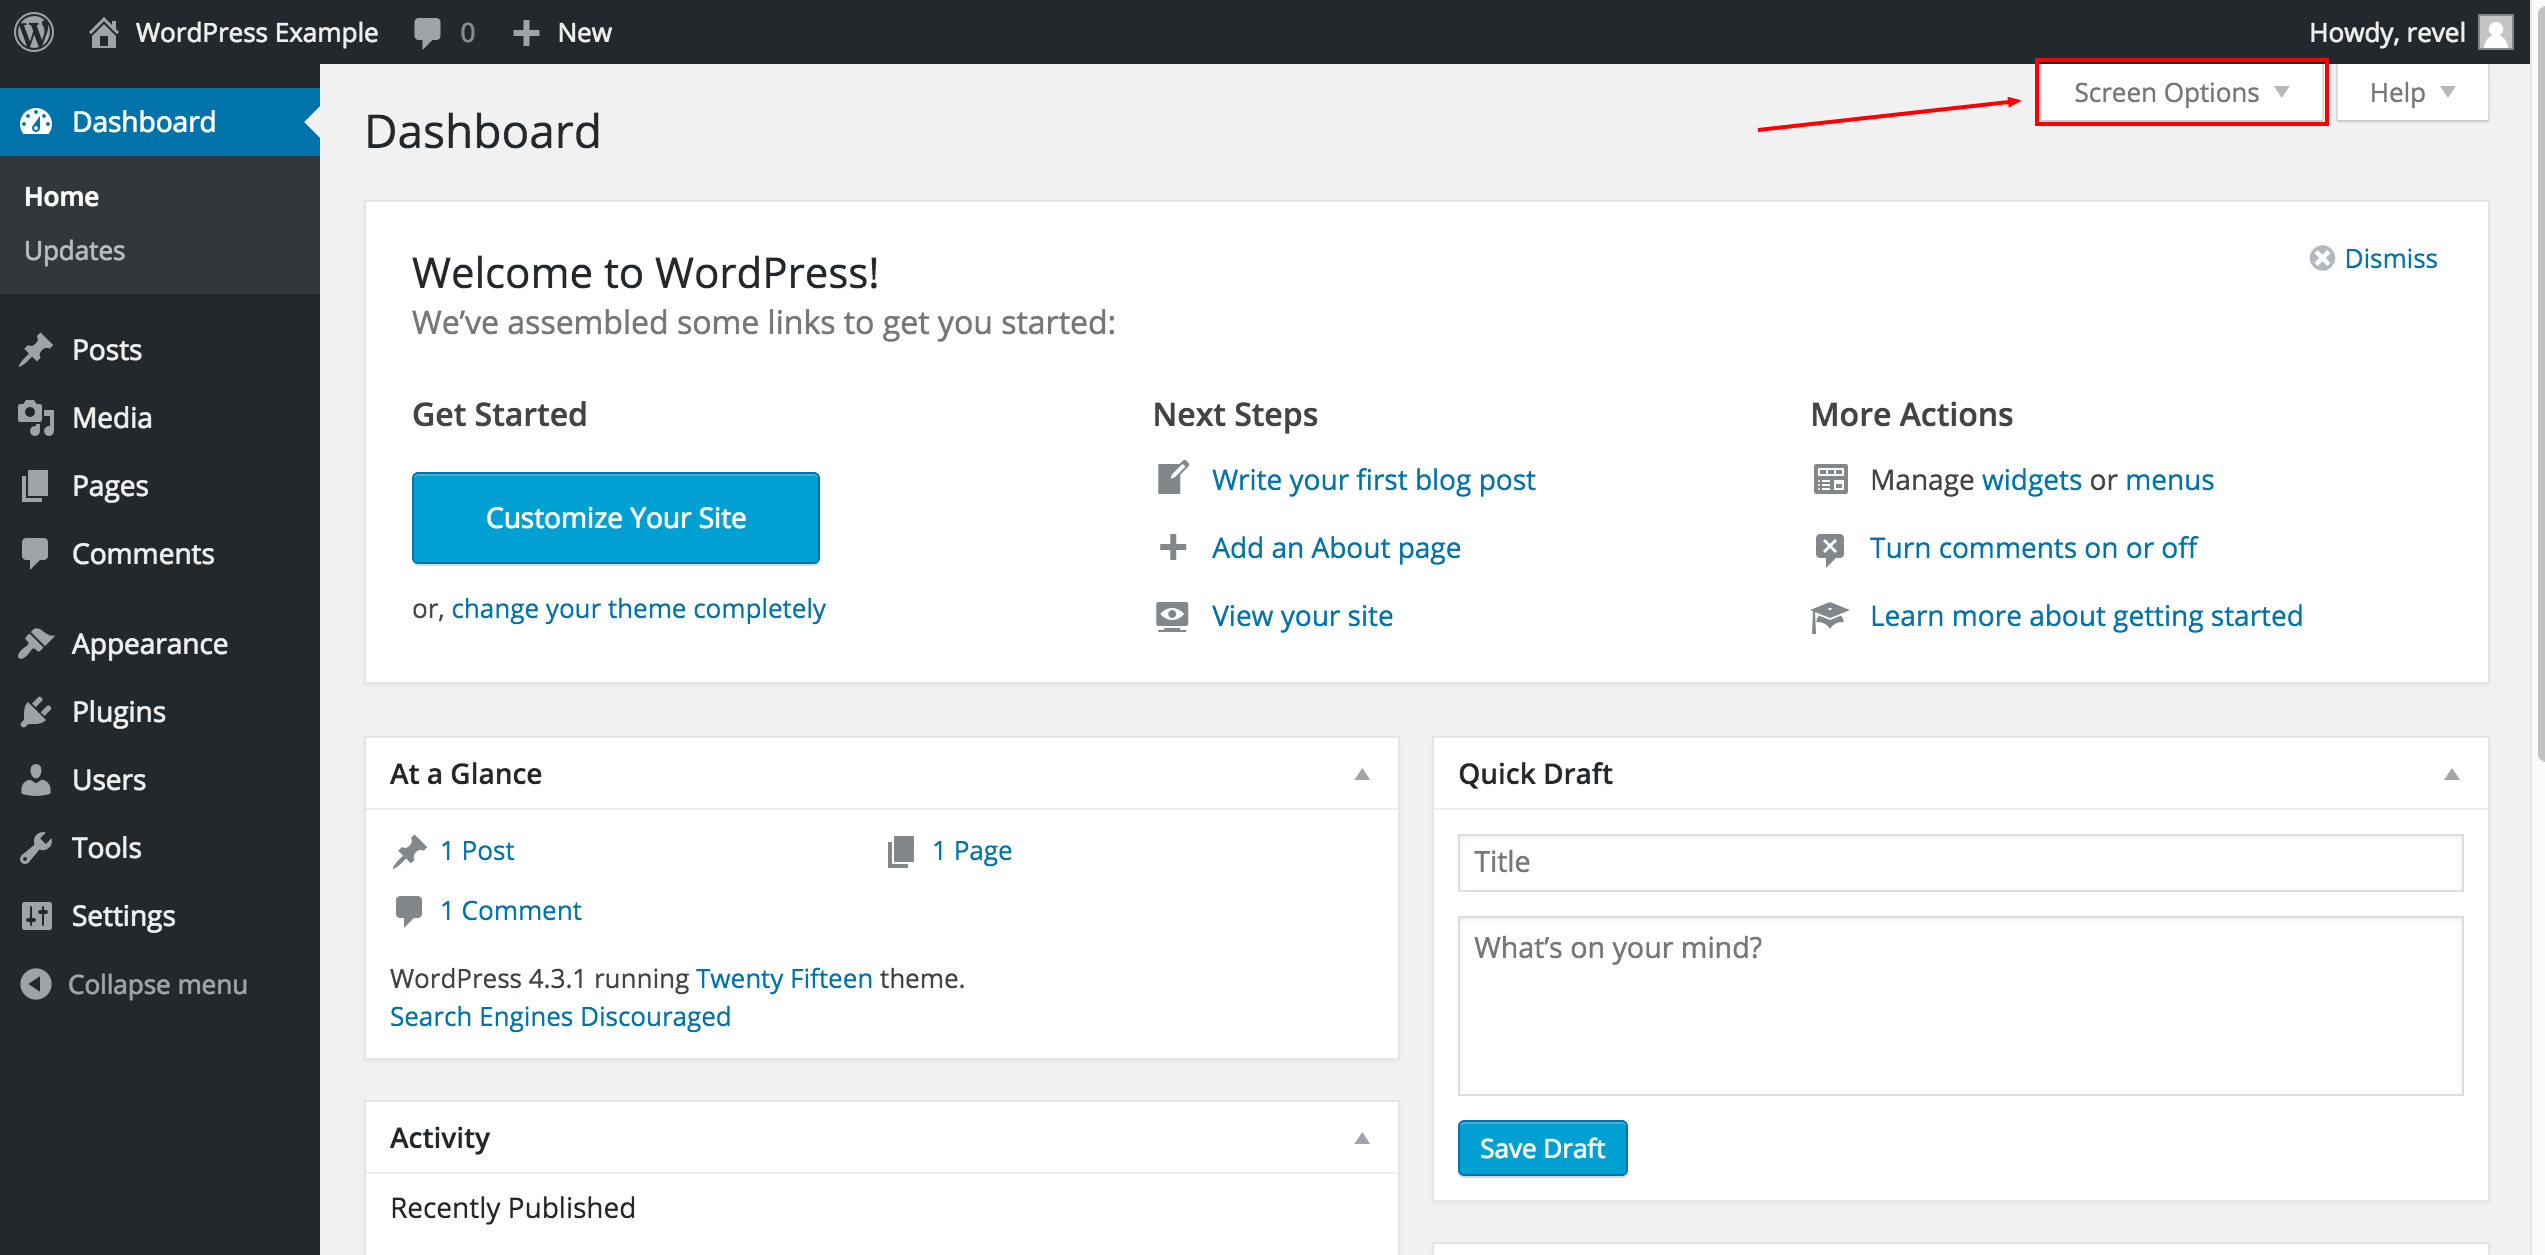
Once you’re logged in, you’ll arrive at the Dashboard – a screen that gives a range of information. Most of this won’t be relevant to you, so if it hasn’t already been done, feel free to clean it up by clicking Screen Options at the top and unchecking the boxes of anything you don’t want to see.
Sidebar Controls
Various areas of your website will be controlled by items in the sidebar to the left. Many of these won’t be used or shouldn’t be touched by anyone besides a programmer, but there are a few areas that you will want to get familiar with. If your website has any custom functionality, you may also see a few extra tabs that are specific to your website. To learn about these custom areas, click on the CMS Training icon at the bottom. This will bring you to a private are of help.revelmarketing.com that contains information specific to your website, should it exist.
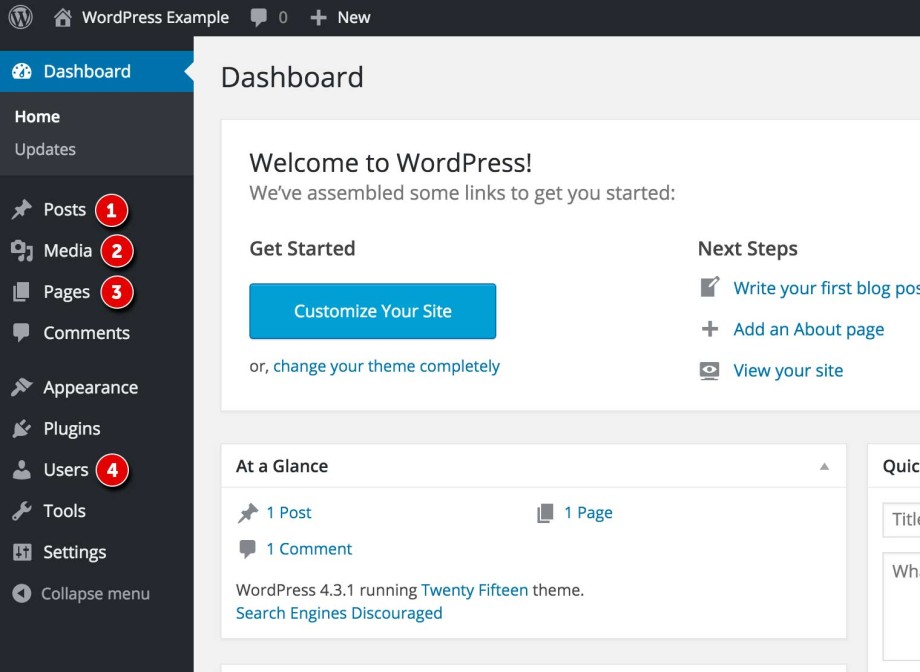
- Posts – Usually contain semantically and chronographically arranged information, for example: news reports, event results, and blog entries. The semantic structure is defined by categories and tags, and whilst making it easy for people to navigate your site, it will also help search engines to understand the content of your site and so improve the relevance of search results.
- Media – This tab will take you to your Media Library. Your Media Library contains all of the files that you’ll post to your website, like photos, PDF documents, or any other document you’d like your users to download. You can mass upload files to this area and use them later in posts. The Media Library will always be accessible from a post you create via an Add Media button.
- Pages – These will look very similar or even identical to Posts, but usually contain more permanent information. Your primary navigation will usually link to pages – like an “About” or “Services” page, for example. Most, if not all of your website’s content will reside here.
- Users – This is where you can manage and add new users to your CMS administration. If you’d like to designate someone else in your business to update your website, you can do so here.
Top Toolbar
![]()
The toolbar has a few items that will be useful to you:
- Site Name: Links to your live website. Hold “Command” or “Control” when clicking it to open a new tab and have both the CMS and website open while working for easy editing.
- + New: A dropdown to quickly add content to your site
- View/Edit Post/Page: When editing or viewing a page, you’ll see this link to either view the live version or be taken from the live version to the CMS to edit it.
- The user section (on the right), quick links to your profile editing screen, and logout link