Your Media Library will host all of your website’s images, PDFs, and other documents. Access the library directly from a post or page you’re working on in the visual editor by clicking Add Media, or by clicking Media in the sidebar.
Add images to a post or page
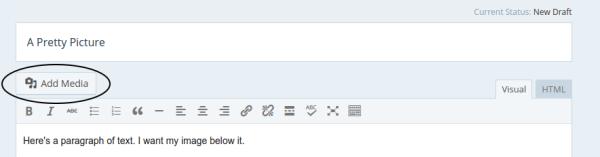
- Place your cursor where you’d like the image to appear and click the Add Media button above the post editor:
- The image uploader will pop up. Choose whether you’d like to upload a new image from your computer (Upload Files) or choose an already-uploaded image from your Media Library:
- To upload, drag and drop your image files into the provided box, or click Select Files to choose an image from your computer to upload.
- Whether you upload a new image, or choose one from your Media Library, you’ll see some options to the right of the image uploader; choose your settings and click Insert into post.
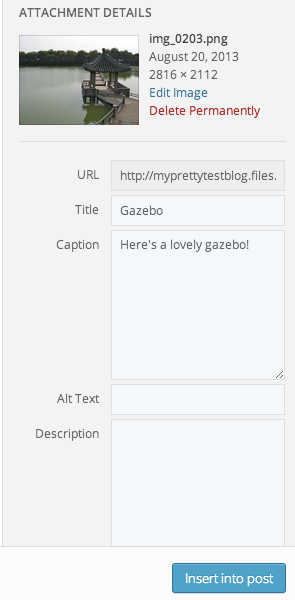
Image Options
When you upload an image, you’ll see a number of options to the right-hand side of the media uploader. We’ll walk through what each of these options controls.
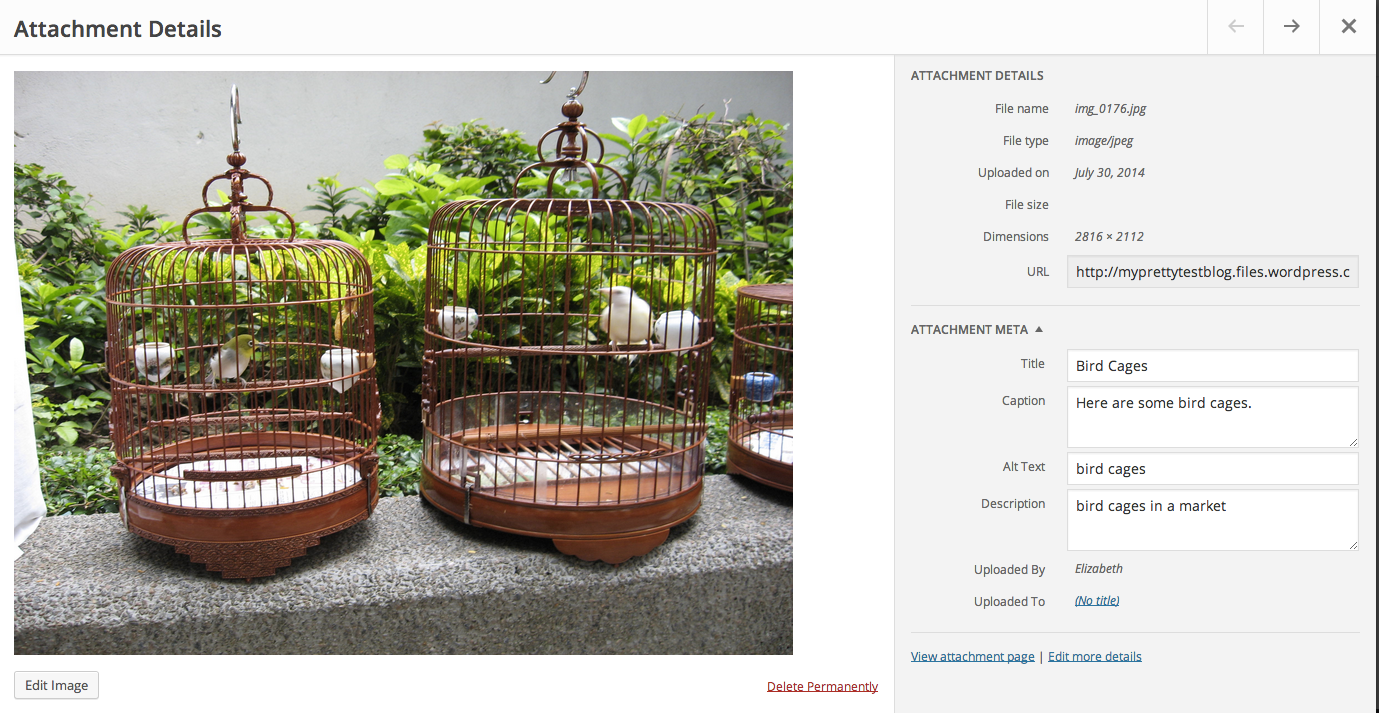
Attachment Details
At the top, next to the thumbnail, you’ll see some information about your image:
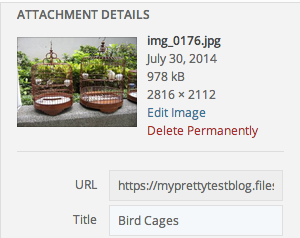
The image title is displayed, as well as the date the image was uploaded, the file size, and the image dimensions.
There is also an Edit Image link that will take you to a screen where you can edit the image itself, and a Delete Permanently link in case you would like to delete the image.
Below this, you’ll see the image URL, which is the full direct link to where the image is stored on your site. This cannot be changed. When viewing the details of a document like a PDF, this URL can be useful if you’d like to share a link with someone to download directly.
Below that, the Title of the image. You can edit this and change the title to whatever you like.

Next, there is a Caption field, where you can enter a caption to display below your image.
Note: The way the caption displays, as well as whether or not the image has a border, is a function of the theme you are using.
The Alt Text field controls what text replaces the image in case of slow-loading sites, or for readers using screen readers and other assistive technology. It’s best to use a simple description of the image.
Description is an optional description of the image that will display on the image’s attachment page (if you choose for the image to be linked to its attachment page).
Finally, the display name of the user who uploaded the image is shown.
Attachment Display Settings
Further down, there are a number of settings that control how the image will display in your post or page.
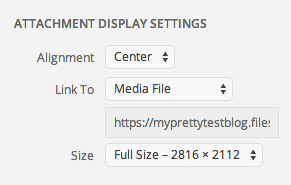
Alignment lets you choose for your image to be left- or right-aligned, with your text wrapping around it, or center-aligned with the text breaking above and below it. You can also choose ‘None.’
The Link To option controls where a reader is taken if they click on the image:
- Media File opens the image file on its own tab.
- Attachment Page opens the image on its own page in your site, where its title and description are displayed, and where readers can leave comments and use sharing buttons on the individual image itself (if comments and sharing are enabled on media files).
- Custom URL lets you choose where the image links; for example, you might want an image to link to a specific page of your site when clicked.
- If you don’t want the image to be clickable at all, choose None.
Finally, the Size option lets you choose to display your image at full-size, medium, large, or as a thumbnail.
From Media Library
You can also modify settings for your already uploaded images directly from your media library. To do this, go to Media→Library in your dashboard:
Click on any of the images there, and the Attachment Details window will pop up:
Note that most of these are the same as the options discussed above, but some are in a slightly different position.
One new one, however, is Uploaded To:
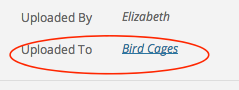
This shows you the post or page the image is uploaded to, and links direclty to it.
Note: While images can be inserted into multiple posts and pages, they are only uploaded to the first post or page they were uploaded to.
The “Edit more details” link at the bottom-right (as well as the Edit Image button at the bottom-left) will take you to a screen where you can modify the image itself.
Within Posts
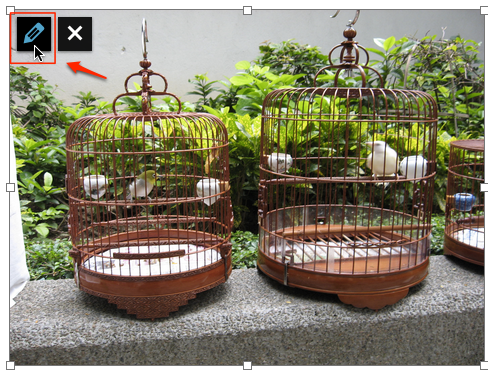
You can also edit an already-uploaded image directly from the visual editor of a post or page. To do this click on any image in the visual editor and select the Pencil button that appears (you can also select the “X” button to remove the image):
An Image Details pop-up appears with many of the same options discussed above:
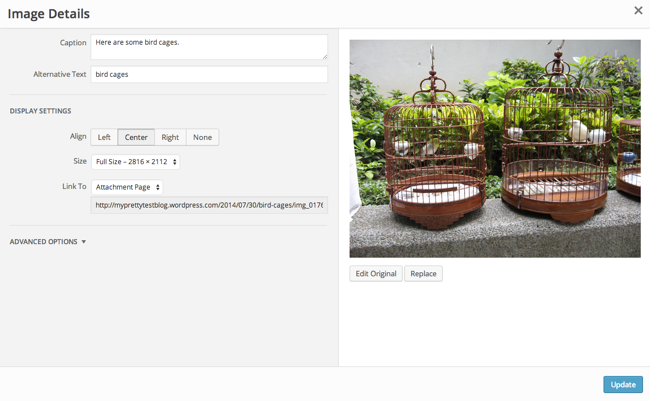
You’ll also see two buttons below the image: Edit Original takes you to a screen where you can rotate, scale, or crop the image, and Replace opens the Media Library to let you choose a different image altogether.
Advanced Options
While advanced options exist, it’s best to leave these to your programmer so that we don’t break the standards of your template. Please contact Revel for any additional assistance not found here.